CUDA R/C R/G Pages |
|


| | | | | | | | | |
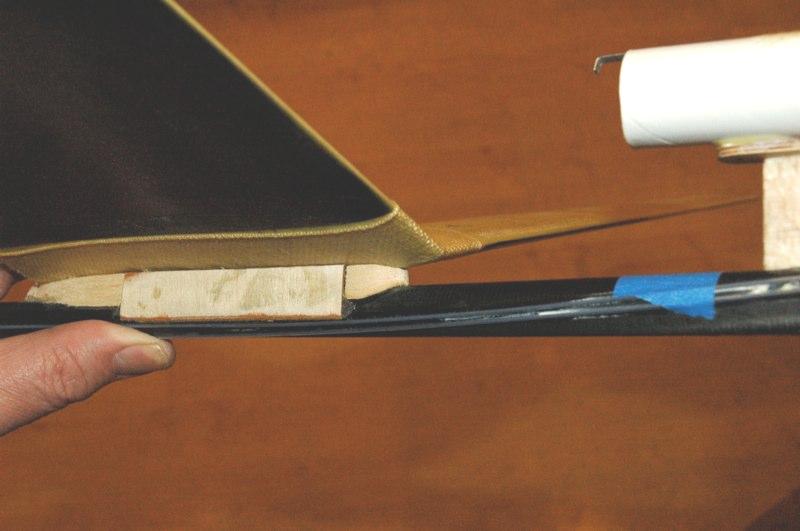
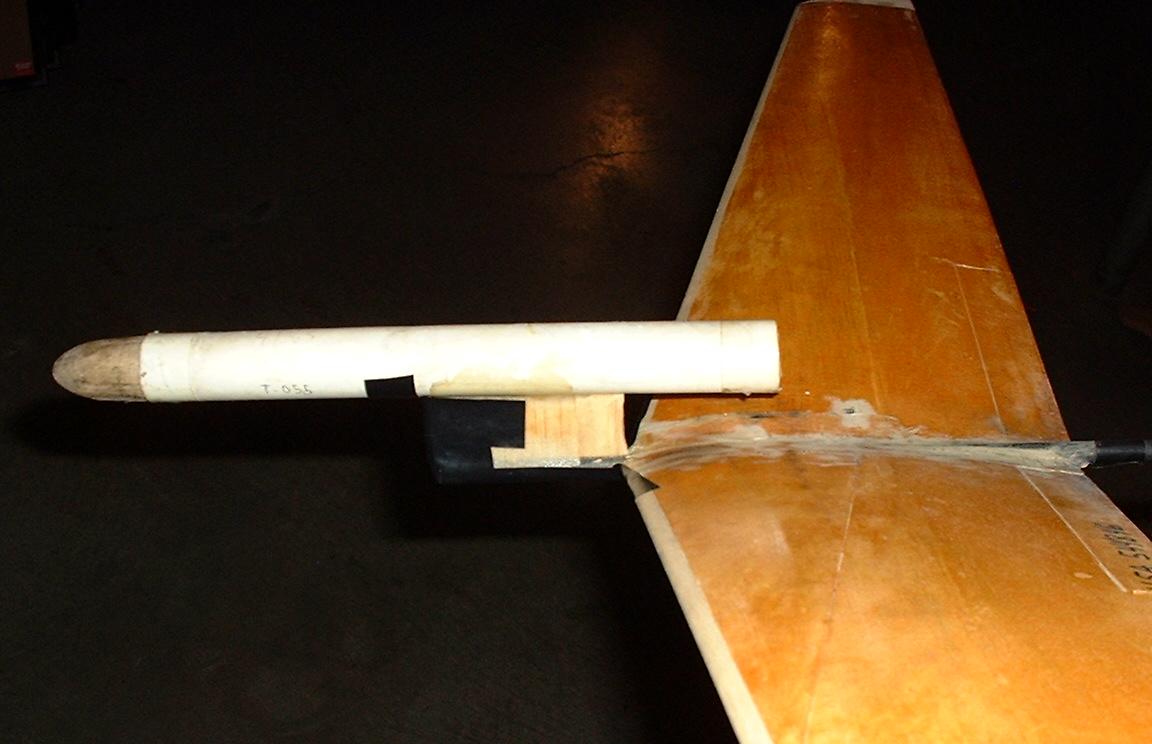
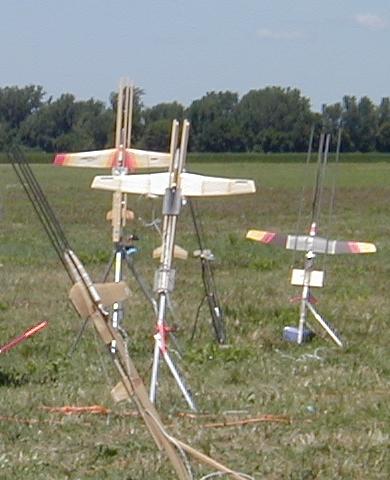
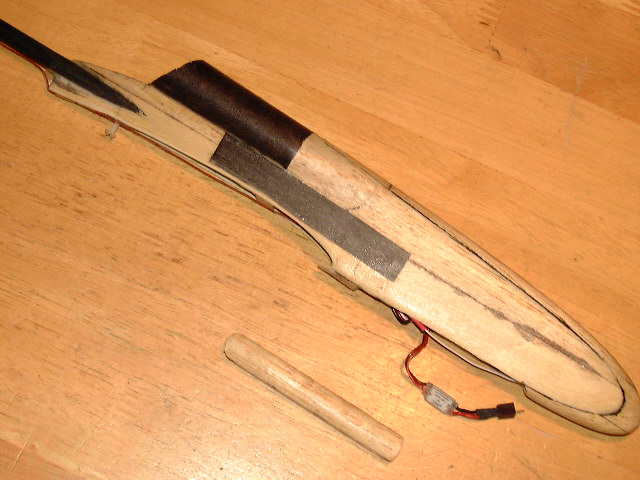
There is a discussion thread on R/C Groups about S8E models which on page 1 has some information and photos by Greg Stewart abotu some modifications he made to optimize and slim the fuselage. There are several answers to this question from an owner of an unbuilt Cuda kit: I'm wondering: Do I build it stock? Are there any mods - (if so what are they?) Ryan Woebkenberg replied: Given the planes you have already flown you should have no problems with the 'Cuda, should you choose to build and fly it. Personally there are several mods I would do, one of which is to ditch the wooden pod (lasercut balsa fuselage) all together. You can use the entire boom that comes with the 'Cuda (don't cut it at all) and let that be the "fuselage" and put the receiver and battery in the motor tube (use the one that comes with the kit, it is extra long and that is handy for this type thing) and then make a motor mount pylon ala this and put the servos in that. http://web.mac.com/parky/RavenNine/Photos.html#6 That is what Chad Ring did with his 'Cuda kit and I think it is a good way to reduce some of the crackability on the old Cuda while also reducing mass and frontal area. Jim Filler replied: I did my my first boosts this past spring with another flyers model. I finished my Cuda and brought it to N-50. The problem IMHO is the stock model turns out to be very tail heavy because the "old" electronic equipment that is recommended was much heavier from what I've been told. I had to add over 35 grams of weight to get mine close to the recommended CG and the model still wanted to stall real bad. I went back to the board after N-50 and used some of Greg's tips for his "slim cuda pod" What I did different was to extend the nose on the fuselage by 3". I replaced the pod area completely so I could shift the gear forward to get a good CG. In Sept I took it out and had some real nice flights, one over 15 min. with an E6. The only other item that I mentioned prior was that the model is not legal for S8 the wingspan is just shy. You mentioned some ways in a prior post to alter this either prior or post build. George Gassaway replied: What I have always recommended is this: Unless you have done V-tails before, use the "T" tail option, as seen on Jim Filler's model at right and above right. This is because the servo motion, and linkages and control horns have to be dead equal between left and right. If not, then you will have up elevator introduce some unwanted turning, or right rudder causing some unwanted pitch response. Something else I am going to recommend is to build the wing with "Tri-hedral", instead of the 6-piece wing with 5 panels. So, flat in the middle, then the outer parts angled for dihedral (a left panel and a right panel) . The 5-panel wing is a bit more efficient dihedral-wise in more closely approximating a "perfect" elliptical dihedral, but I do not think it is worth it. Trihedral saves a little bit of mass by only having three wing joints instead of 5, plus there are two less joints to cut just right and glue together just right. If you did not get what I mean about Trihedral, then at right is a photo of one of the Cuda-Flap models I made, to use for the 2001 US Team flyoffs for the then-new S8E-P event with the runway type landings. It used a 16" flat section, with each tip raised 3.75" for dihedral. I called it Cuda-Flap since it used a modified set of Cuda wing cores, and the same V-tail size, but the fuselage layout was totally different. I do not recommend much else about that model configuration beyond the 3-panel Trihedral wing. Another mod I suggest: The 1/16" balsa sides are a bit weak, and the laser-cut slots make them a bit weaker. So, once the main fuselage is built, but not sanded, add 1/64" plywood, or .010 G10/Waferglass, to the sides to reinforce them. I used to do that a lot with my old balsa fuselage R/C R/G's to beef them up. Another option would be to not add the side strips, go ahead and add the bottom balsa blocks, carve and sand all of the lower pat of the fuselage , then apply one layer of 3/4 oz. fiberglass cloth, using the same kind of epoxy used for skinning the wings. I would just go with the 1/64" ply, since that is what I did for many other models.
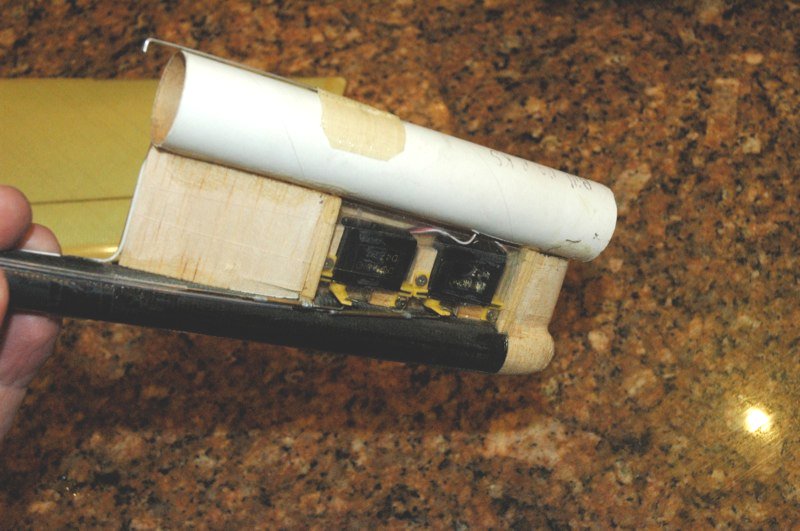
Raven-9 type "stick" boom with servos in hollow pylon, receiver & batteries in Rocket Motor pod

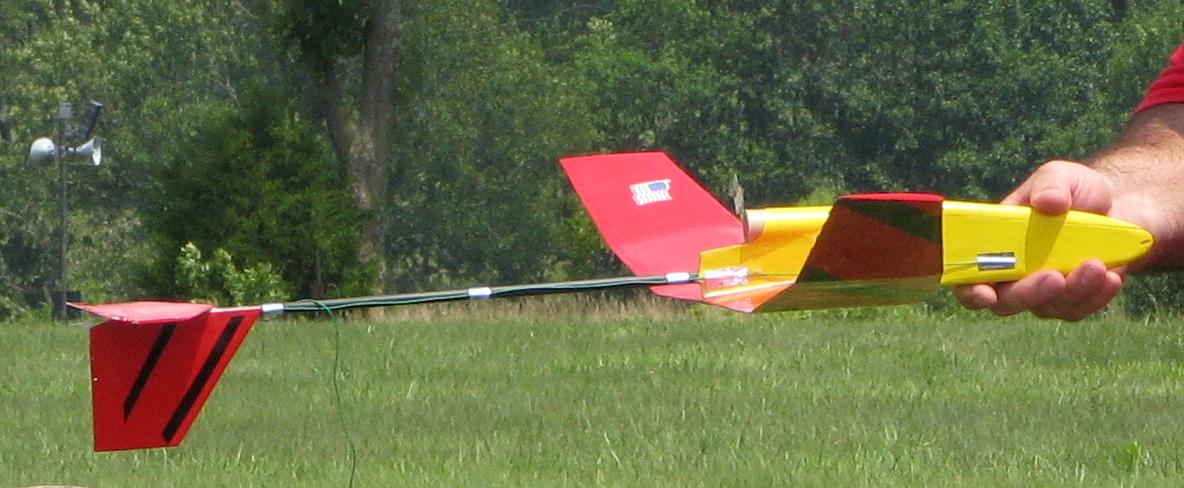
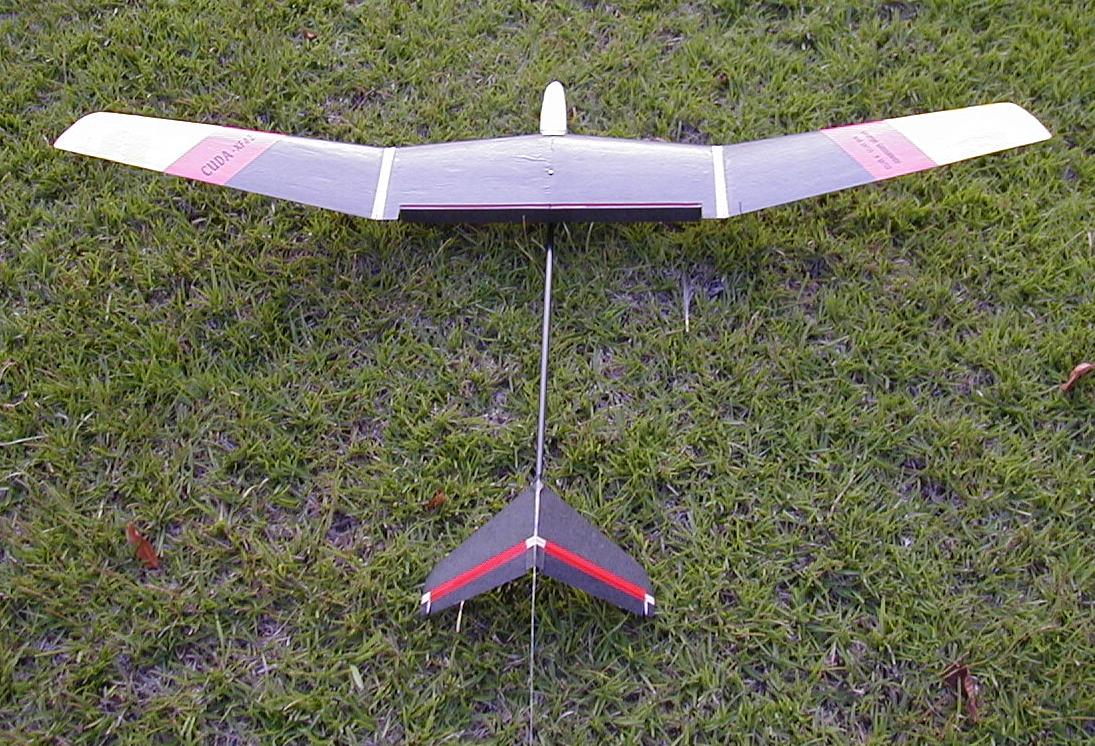
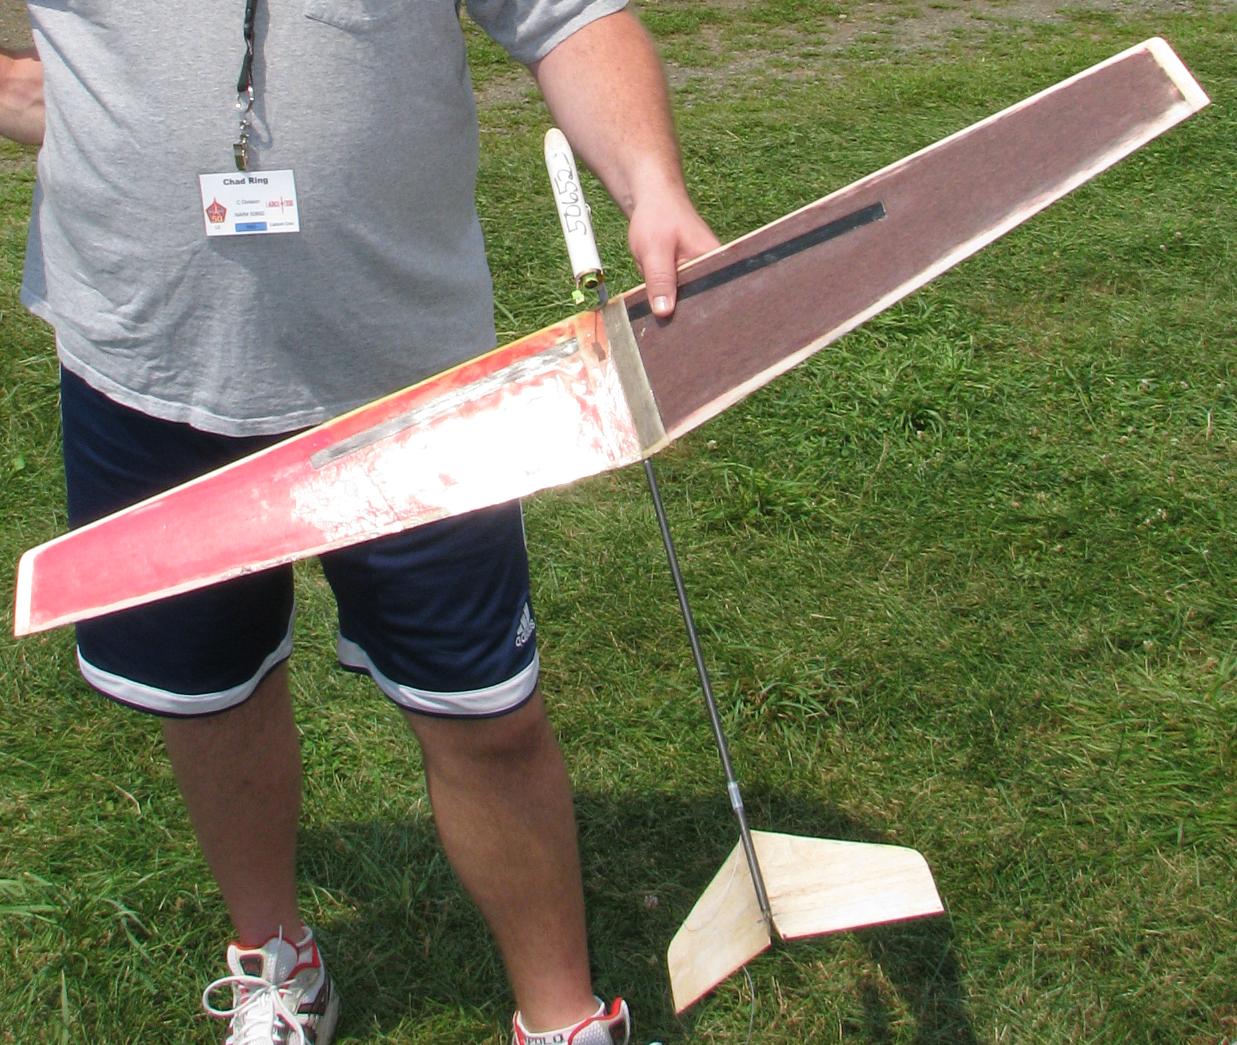
Cuda-Flap model with "Tri-Hedral" Wing.
16" flat center section, 3.75" dihedral at tips