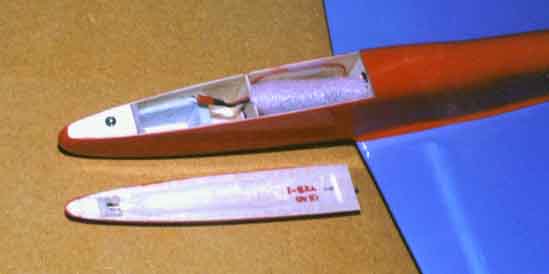
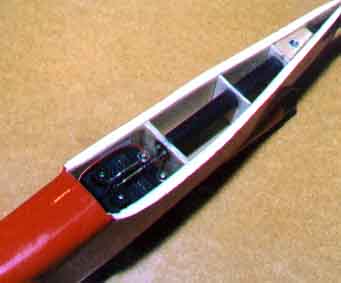
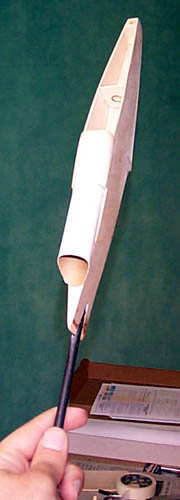
| Fuselage Modifications - Big changes - Home-Made Balsa Pod - Redesign the pod entirely. But you should try to keep the original thrustline.
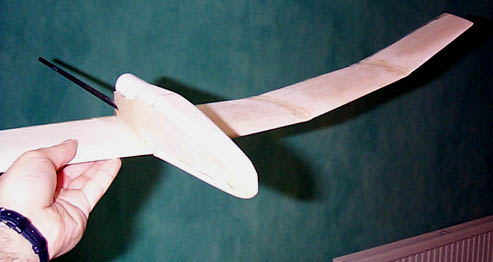
- Use a "Stick" Fuselage - Extend the fiberglass or graphite fuselage several inches in front of the fuselage, as with a Stingray. Mount the receiver and batteries inside the 24mm engine mount tube (use a longer tube), and the servos in a hollow pylon.
- Wing Mount - If you use a "Stick", fuselage, you will need a way to mount the wing, if you want to be able to remove the wing for transport. See the photos on Bob Parks' Raven-9 page, to see how it can be done.
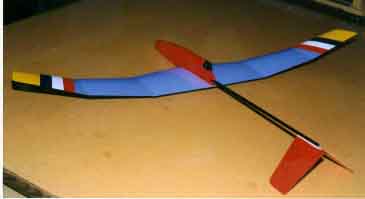
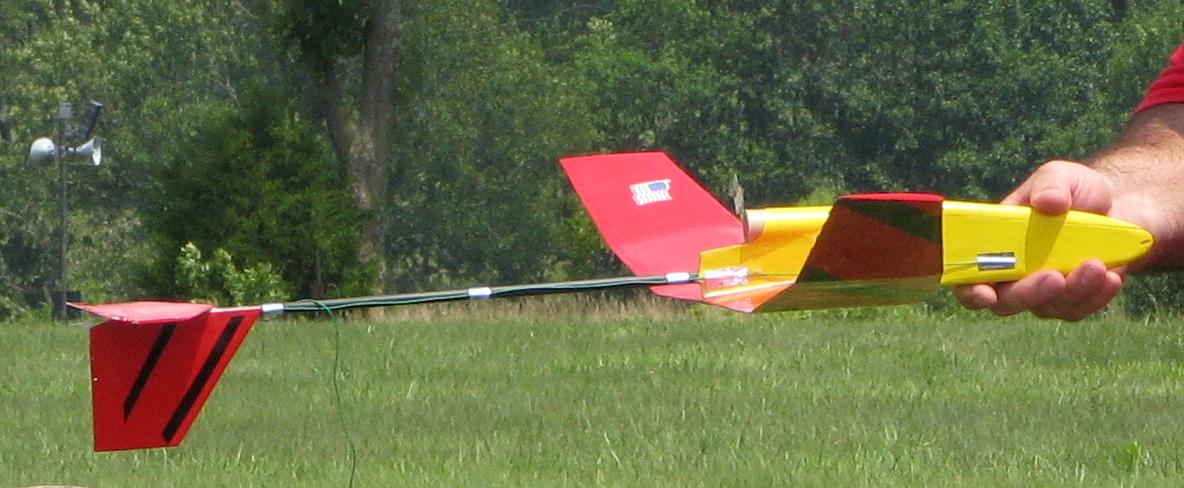
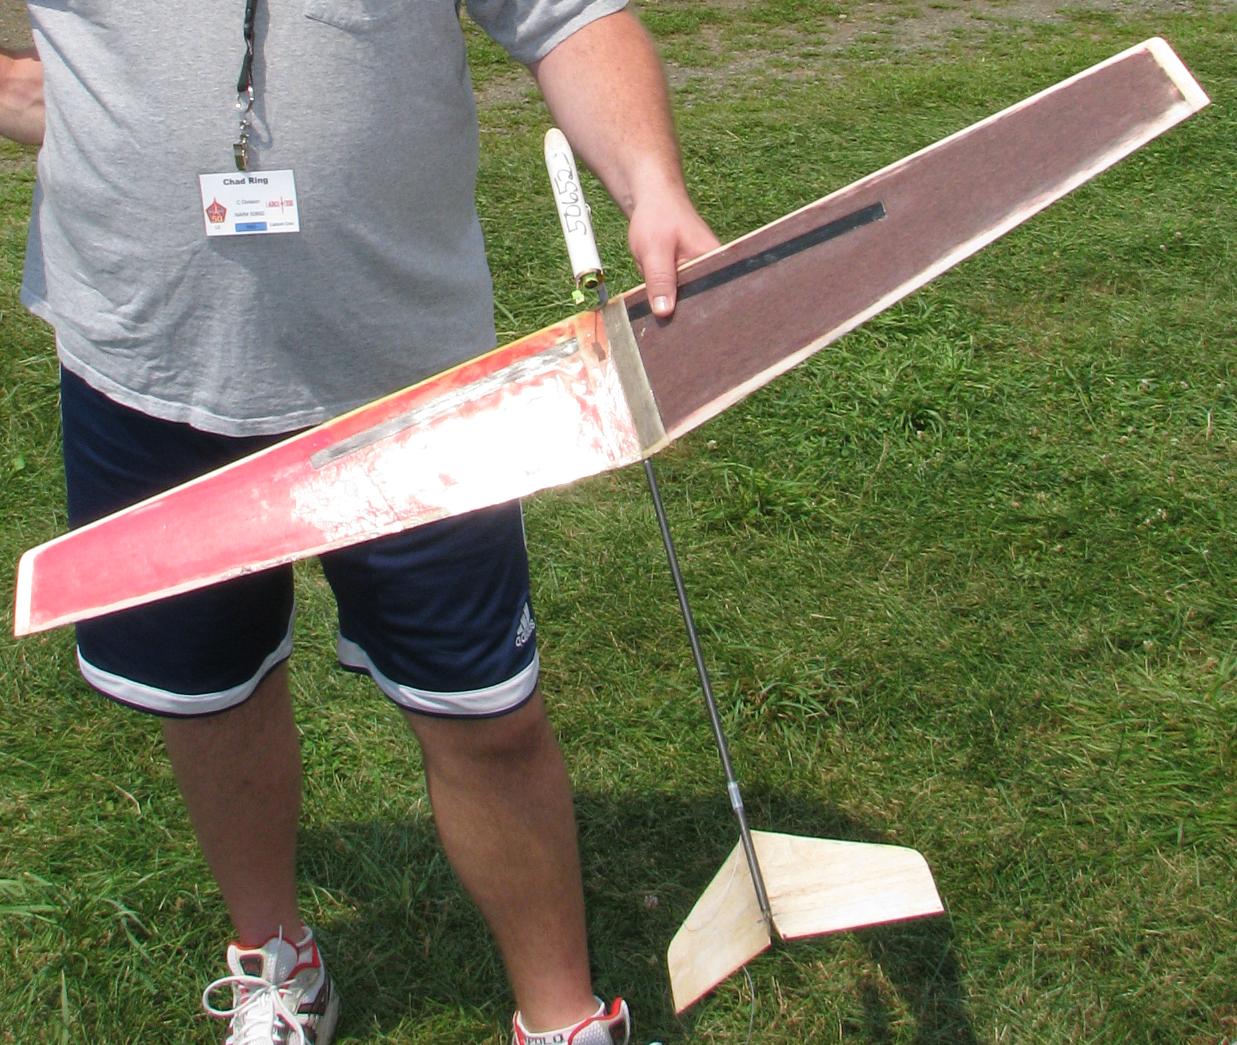
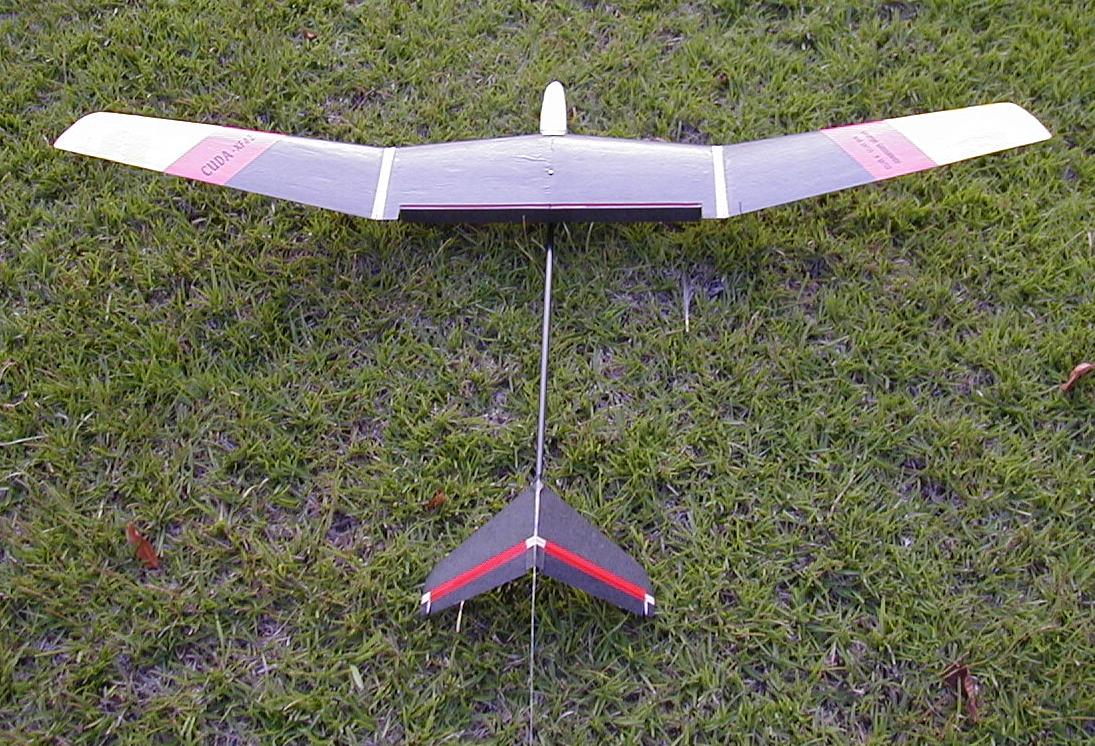
- Wing Mount - Just Glue It. Some of the birds that have used "Stick" fuselages have also glue the wing directly to the boom. such as Chad Ring's Light cuda, and Ryan Woebkenberg's Cuda Ray.
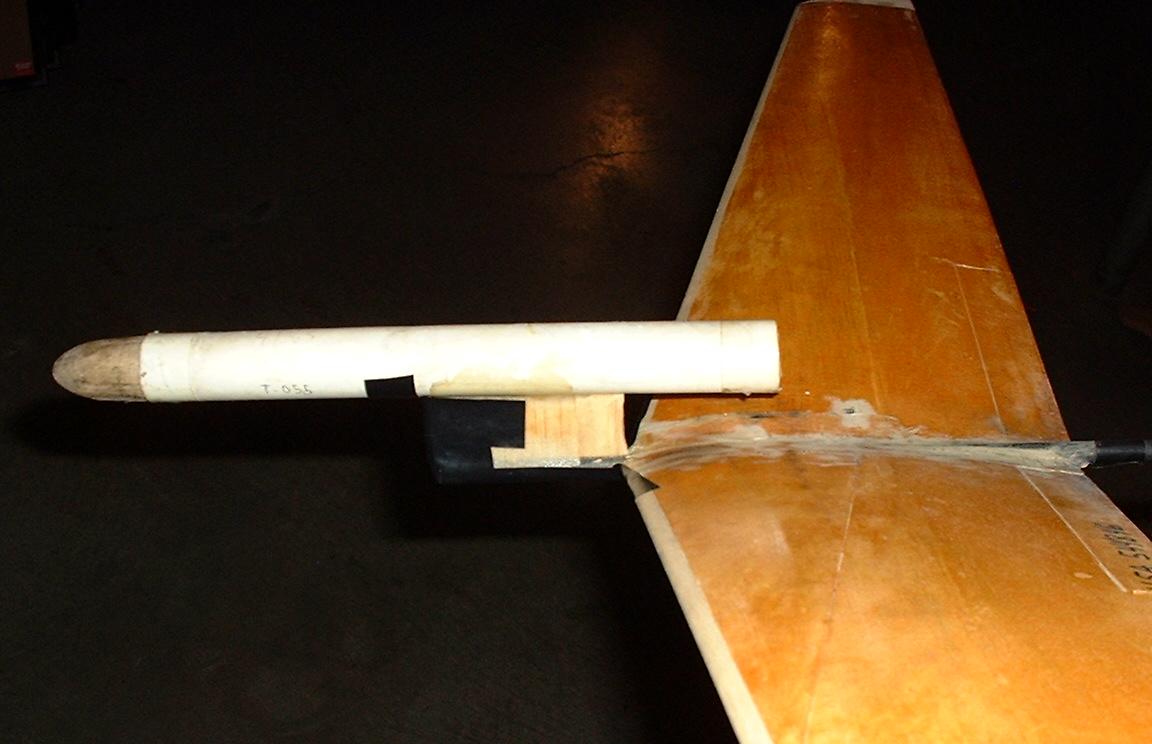
- Wing Mount Warning - Any change you make to the wing mount, you must keep the same angle of attack between the wing and the fuselage. On the Cuda, the wing is supposed to be at zero degrees angle of attack (parallel) to the boom. If you make a Saddle mount, you will need to make it so the wing will be parallel to the boom. If you glue the wing on, you will either have to make a saddle, or cut and sand a notch in the bottom of the boom then add fiberglass cloth to reinforce the bottom of the wing that was notched out. As seen in the third example below, if you just glued the mostly flat part of the wing to the boom, it would have an angle of attack of 1.8 degrees, which would cause it to pitch up very badly.
 | 
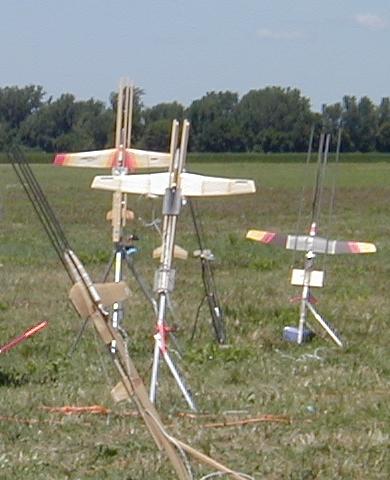
Chad Ring's Light Cuda | 
Ryan Woebkenberg's Cuda Ray | |